The Best Fluffy Pancakes recipe you will fall in love with. Full of tips and tricks to help you make the best pancakes.
Bread Baking Essentials: Unlock the Secrets to Perfectly Baked Loaves
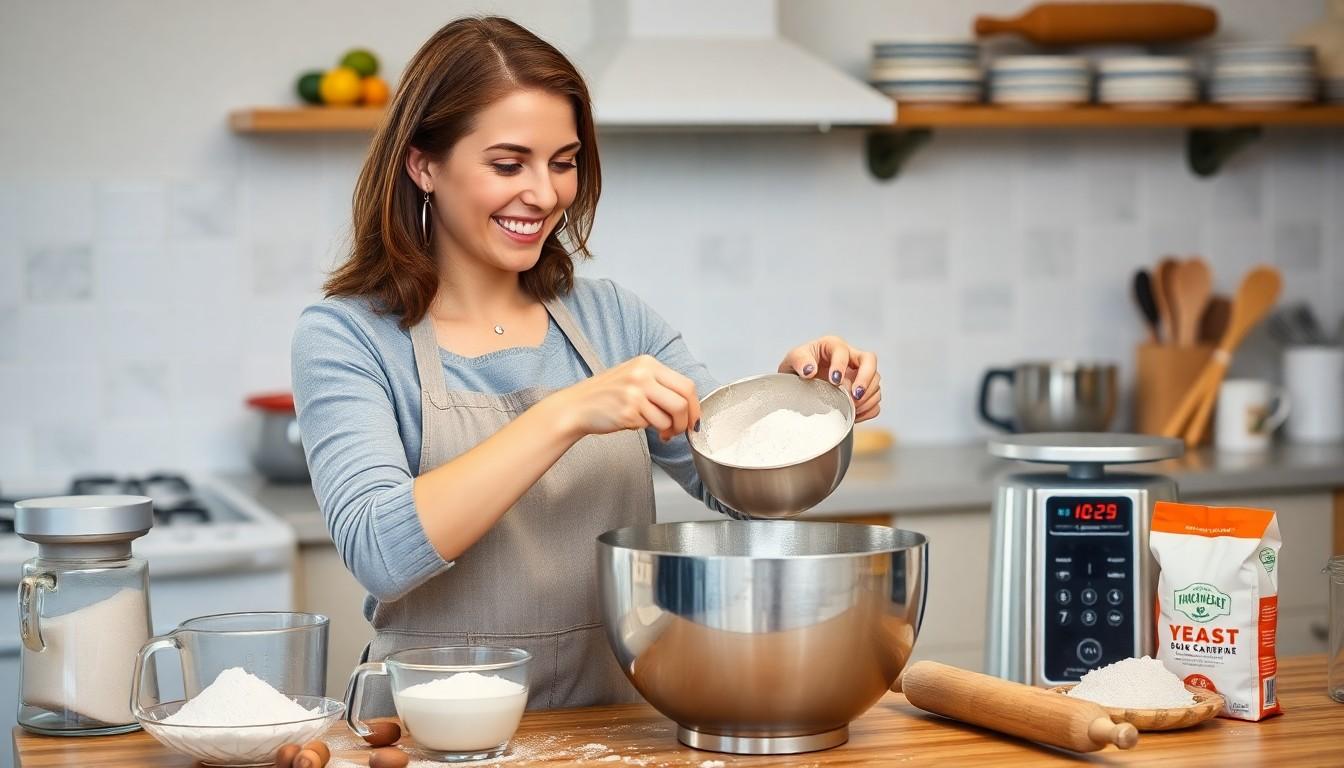
There’s something magical about the aroma of freshly baked bread wafting through the kitchen. It’s like a warm hug for the senses. But before diving headfirst into the doughy abyss, one must gather the right tools and ingredients. After all, even the best bakers can’t conjure up a crusty loaf without a solid foundation.
Bread Baking Essentials
Essential tools and ingredients form the backbone of bread baking. A sturdy mixing bowl is crucial for combining ingredients effectively. Measuring cups and spoons ensure precision, allowing bakers to follow recipes accurately.
A digital kitchen scale enhances baking precision, especially when weighing flour and other dry ingredients. The right type of flour impacts the texture and flavor of the bread. All-purpose flour, bread flour, and whole wheat flour each bring unique characteristics to the final product.
Yeast plays a vital role in leavening bread, providing that delightful rise. Active dry yeast and instant yeast contain slightly different properties, influencing preparation methods. A bit of sugar often aids yeast activation, helping achieve optimal fermentation.
Several tools facilitate the baking process. A dough scraper allows for easy handling, while a rolling pin creates an even surface for shaping the dough. Baking sheets and a casserole dish offer various options for creating unique bread shapes.
An oven thermometer guarantees accurate temperature readings, ensuring consistent baking results. A cooling rack is necessary for stability as bread cools, maintaining crust integrity. A sharp bread knife provides clean slices, enhancing presentation.
Bakers often keep other essentials on hand. Olive oil can enrich dough, adding flavor and moisture. Eggs contribute to richness and texture in more enriched bread recipes.
Preparation starts with gathering these essentials, setting the stage for success. Knowledge of each ingredient and tool contributes to the understanding of the bread-baking process. By prioritizing quality tools and ingredients, bakers can elevate their skills and enjoy the art of bread making.
Ingredients Needed
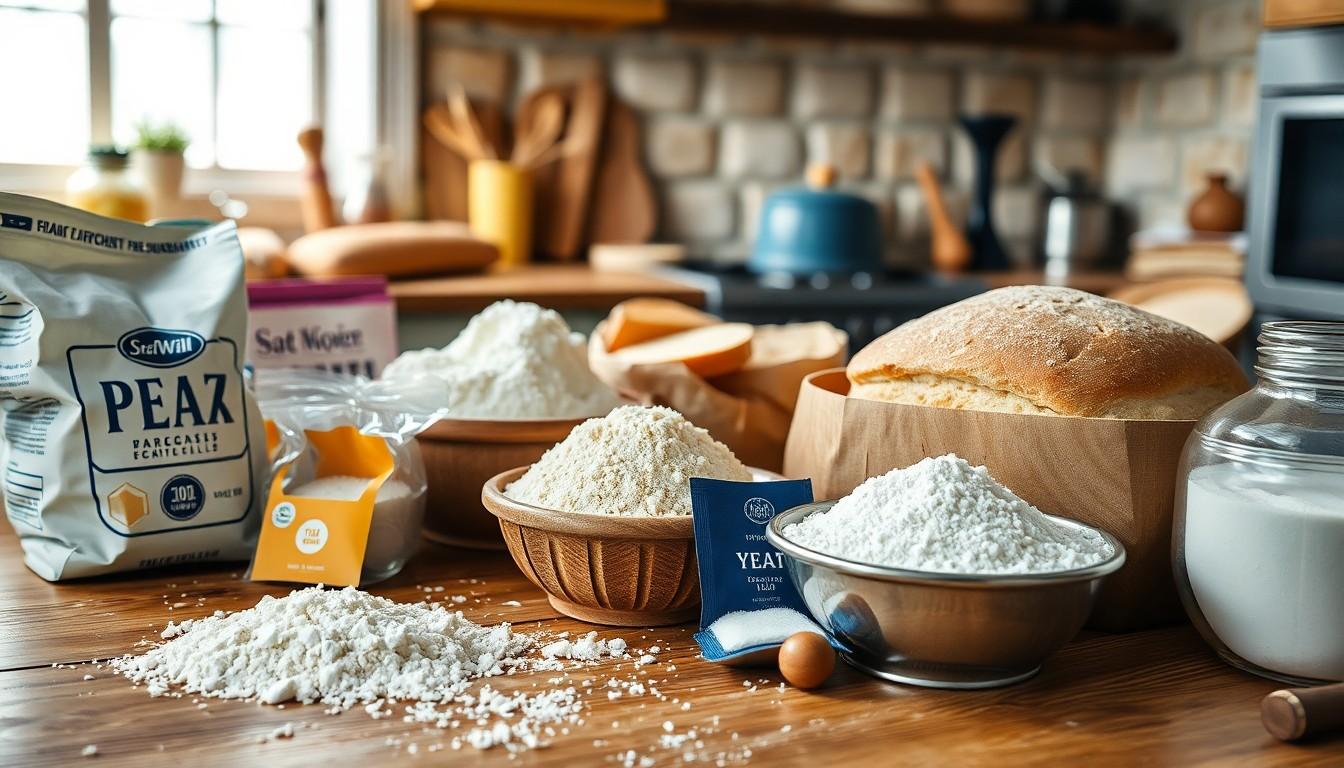
Gathering quality ingredients is essential for successful bread baking. Selecting the right components significantly impacts the flavor and texture of the final product.
Flour Types
The choice of flour plays a crucial role in bread baking. All-purpose flour is versatile, suitable for a variety of bread types. Bread flour contains higher protein, promoting gluten development for a chewy texture. Whole wheat flour offers a nuttier flavor and denser crumb, perfect for hearty bread. Specialty flours, like rye or spelt, add unique tastes and characteristics to different bread varieties. Each option provides distinct benefits, allowing bakers to experiment and create personalized recipes.
Yeast Varieties
Yeast serves as the leavening agent in bread making. Active dry yeast requires activation in warm water before use, while instant yeast can be mixed directly into dry ingredients, saving time. Fresh yeast delivers a slight flavor advantage, though it has a shorter shelf life. Each type offers different rises, creating unique textures in bread. Understanding yeast’s characteristics enhances bakers’ ability to craft the perfect loaf.
Other Essential Ingredients
Additional ingredients contribute to flavor and texture. Sugar, often used to activate yeast, sweetens bread and aids in browning. Salt is vital for enhancing flavor and controlling fermentation rates. Oils, such as olive oil or butter, enrich the dough and improve its softness. Eggs introduce moisture and richness, often used in enriched bread recipes. Incorporating various ingredients enables bakers to achieve their desired taste and quality.
Baking Equipment
Baking bread requires specific equipment to ensure success. Gathering essential tools creates a smooth and efficient baking experience.
Must-Have Tools
A sturdy mixing bowl stands as a foundational item for mixing dough. Measuring cups enable precise ingredient measurements, contributing to consistent results. A digital kitchen scale provides accuracy, ensuring proper flour ratios. A sharp bread knife plays a critical role in slicing freshly baked loaves effortlessly. Bakers benefit from having a dough scraper to easily handle sticky dough. Rolling pins assist in shaping dough, making it easier to achieve the desired thickness. Investing in quality baking sheets and pans promotes even baking and browning.
Optional Gadgets
Optional gadgets enhance the baking process without being strictly necessary. An oven thermometer allows bakers to monitor temperature accuracy, leading to better control. A bench scraper helps in dividing dough efficiently, promoting uniformity. A food processor can expedite mixing and kneading, saving time when preparing large batches. Silicone baking mats prevent sticking and simplify cleanup. Proofing baskets support dough during the rising process, improving shape and texture. Finally, a stand mixer offers convenience for those who frequently bake, facilitating hands-free mixing.
The Baking Process
The baking process transforms simple ingredients into delicious bread. This section details the key steps involved in creating a perfect loaf.
Mixing and Kneading
Mixing ingredients thoroughly ensures even distribution of yeast, flour, and liquids. He or she begins by combining dry components first, followed by liquids. This method encourages proper hydration of flour. Kneading develops gluten, which gives bread its structure. After mixing, transferring the dough onto a floured surface facilitates effective kneading. Using the palms, the dough should be pushed and folded repeatedly, lasting around 8 to 10 minutes. A smooth, elastic texture signals adequate kneading, critical for achieving an airy loaf.
Proofing Techniques
Proper proofing allows yeast to work its magic, resulting in a well-risen bread. He or she selects a warm, draft-free environment for the dough. Covering it with a damp cloth retains moisture, promoting fermentation. The first rise, known as bulk fermentation, typically lasts 60 to 90 minutes. Observing the dough’s size is key; it should double in volume. After the bulk rise, the dough undergoes a second proofing after shaping. This final rise lasts 30 to 60 minutes, allowing the bread to develop flavor and texture.
Shaping and Scoring
Shaping the dough provides a final touch before baking. It begins with gently deflating the risen dough. He or she forms it into a tight shape, either a loaf or rolls, ensuring proper surface tension. Scoring with a sharp knife enhances aesthetic appeal and controls expansion during baking. The cuts should be shallow yet precise, allowing steam to escape. This technique influences both texture and crust formation, contributing to a beautifully crafted bread.
Common Mistakes to Avoid
Bread baking requires attention to detail. Skipping essential measurements leads to inconsistent results. Double-check ingredient quantities for accuracy before starting.
Omitting proofing time often causes underdeveloped loaves. Sufficient rest allows yeast to work effectively, creating better texture and flavor. Watching dough rise gives insight into its readiness.
Neglecting oven temperature results in poorly baked bread. Using an oven thermometer ensures the correct heat level for optimal results. Preheating the oven thoroughly creates the right environment for baking.
Overworking the dough affects gluten development negatively. Kneading should be just enough to achieve elasticity without overdoing it. A gentle touch during shaping preserves the air pockets formed during proofing.
Ignoring the importance of steam in the oven leads to crusty loaves that lack texture. Introducing moisture during the first few minutes aids in achieving the desired crust. Placing a pan of water in the oven can enhance steam levels effectively.
Failing to cool bread properly ruins its crumb structure. Allowing loaves to rest on a cooling rack prevents moisture buildup. This step ensures air circulation around the bread, enhancing the final texture.
Lastly, skipping the use of a sharp bread knife when slicing leads to squished bread. Using a serrated knife allows for clean cuts without damaging the loaf. Proper slicing showcases the loaf’s texture and appearance.
Avoiding these common mistakes enhances the baking experience, resulting in perfect loaves every time.
The Art Of Bread Baking
Bread baking is a rewarding journey that combines art and science. With the right tools and quality ingredients, anyone can create a delicious loaf that delights the senses. Mastering the fundamentals like mixing kneading and proofing sets the stage for success.
Avoiding common pitfalls ensures a more enjoyable baking experience. Each step from selecting flour to cooling the finished product plays a crucial role in achieving that perfect texture and flavor. Embracing these essentials not only enhances the process but also leads to satisfying results that can be shared with family and friends. Whether a novice or a seasoned baker there’s always something new to learn and enjoy in the world of bread baking.